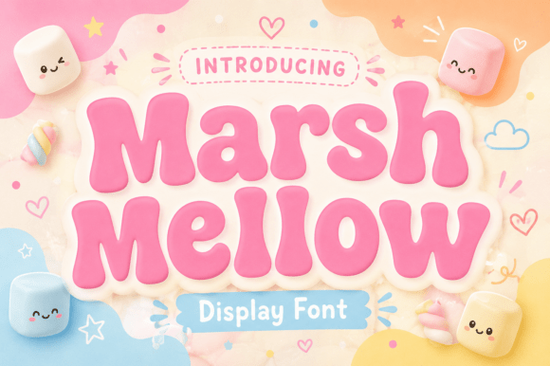
If you are designing merchandise, packaging, or brand identities that need a warm, nostalgic feel, finding the right typography is essential. The Marshmellow Font is a chunky, retro-style display typeface inspired by the 1970s. It features thick, pillowy letters with soft, curvy outlines that give off a relaxed and cheerful vibe. Whether you are a print-on-demand seller creating vintage t-shirts or a small business owner designing playful product labels, this typeface brings a sense of humor and bygone charm to your work.
What kind of projects work best with a chunky retro typeface?
Display fonts with heavy, rounded edges are highly readable at large sizes, making them ideal for headers and short text blocks. Because of its soft-edged structure, this specific typeface shines in projects that need a friendly, approachable look. It is not meant for long paragraphs, but rather for making a bold statement in a few words.
- Apparel and Merchandise: The thick letters print beautifully on t-shirts, tote bags, and hats, especially when paired with simple retro graphics or wavy text layouts.
- Product Packaging: Use it on coffee bags, bakery boxes, or craft beer labels to create an eclectic, artisan feel that stands out on retail shelves.
- Social Media Graphics: The bold shapes grab attention quickly in Instagram carousels or Pinterest pins without looking overly aggressive or hard to read on mobile screens.
- Brand Logos: It provides a solid foundation for cafes, boutique shops, or creative agencies wanting a relaxed, welcoming brand identity.
How do you pair a 1970s style font with other typefaces?
Pairing a highly stylized display font requires balancing its heavy visual weight. Since the main typeface has thick, curvy characters, you want to contrast it with clean, simple fonts for your body text to keep the design legible.
For a cohesive nostalgic look, you might explore other retro-inspired display choices to find a complementary secondary header. If your design leans more towards playful storytelling, mixing it with whimsical lettering meant for children's books can add a sweet touch to greeting cards or party invitations.
For a more structured contrast, combining it with classic varsity-style lettering creates an interesting visual dynamic for sportswear or campus merch. Alternatively, if you want to keep the fun vibe but need something more geometric, looking into blocky, video-game-inspired alternatives could provide a nice secondary accent. Finally, to ground the chunky header with elegant body copy, a traditional, elegant serif works perfectly to balance the overall layout and guide the reader's eye.
Which software and file formats do you need to use this font?
Before downloading, make sure your design software supports custom typography. Most standard design programs like Adobe Illustrator, Photoshop, Canva, and Affinity Designer handle these files without any issues. You will typically receive the font in OTF and TTF formats.
- OTF (OpenType Format): Best for professional design software. It supports advanced typographic features and is the preferred choice for vector-based logo design.
- TTF (TrueType Format): Highly compatible with basic word processors, Cricut Design Space, and Silhouette Studio. This makes it the go-to choice for crafters and hobbyists cutting vinyl, paper, or wood.
Installation tip: On Windows, right-click the file and select "Install for all users." On a Mac, simply double-click the file and click "Install Font" in the preview window. Always restart your design software after installing a new typeface so it registers properly in the font menu.
Quick checklist for your next design project
Before you finalize your artwork or send it to the printer, run through this quick list to ensure your typography looks professional and cuts correctly.
- Check the hierarchy: Ensure your chunky header is significantly larger than your body text to maintain a clear reading order.
- Adjust the kerning: Manually tweak the spacing between specific letter pairs if the thick curves overlap awkwardly or create unintended gaps.
- Test the contrast: Place your text over a background image or color to verify it remains easy to read from a distance.
- Weld for cutting: If using a Cricut or Silhouette, group and weld the text so the cutting blade treats the word as a single solid shape, preventing internal cut lines.
- Proofread carefully: Double-check your spelling before converting the text to outlines or cutting your expensive vinyl materials.
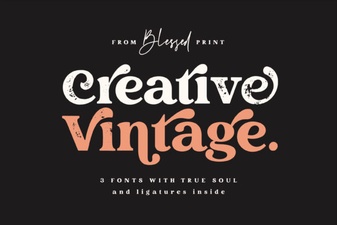 Elevate Projects with Vintage & Creative Typography
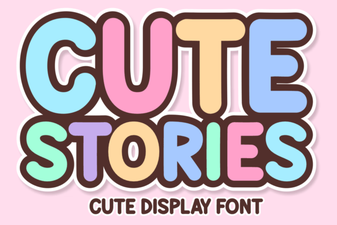 Cute Fonts for Storytelling Projects
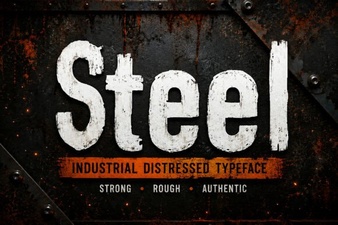 Crafting Sharp Steel Fonts for Digital Design
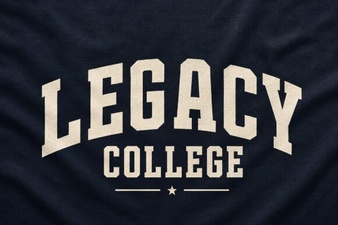 Legacy College Fonts: Design Ideas & Free Downloads
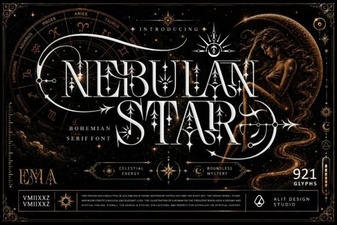 Nebulan Star: a Font for Creative Typeface Projects
 Creative Urban Typography for Digital Projects